Blog
March 27, 2024
HTTPS Traffic Routing for Localhost
 Joe Kendall
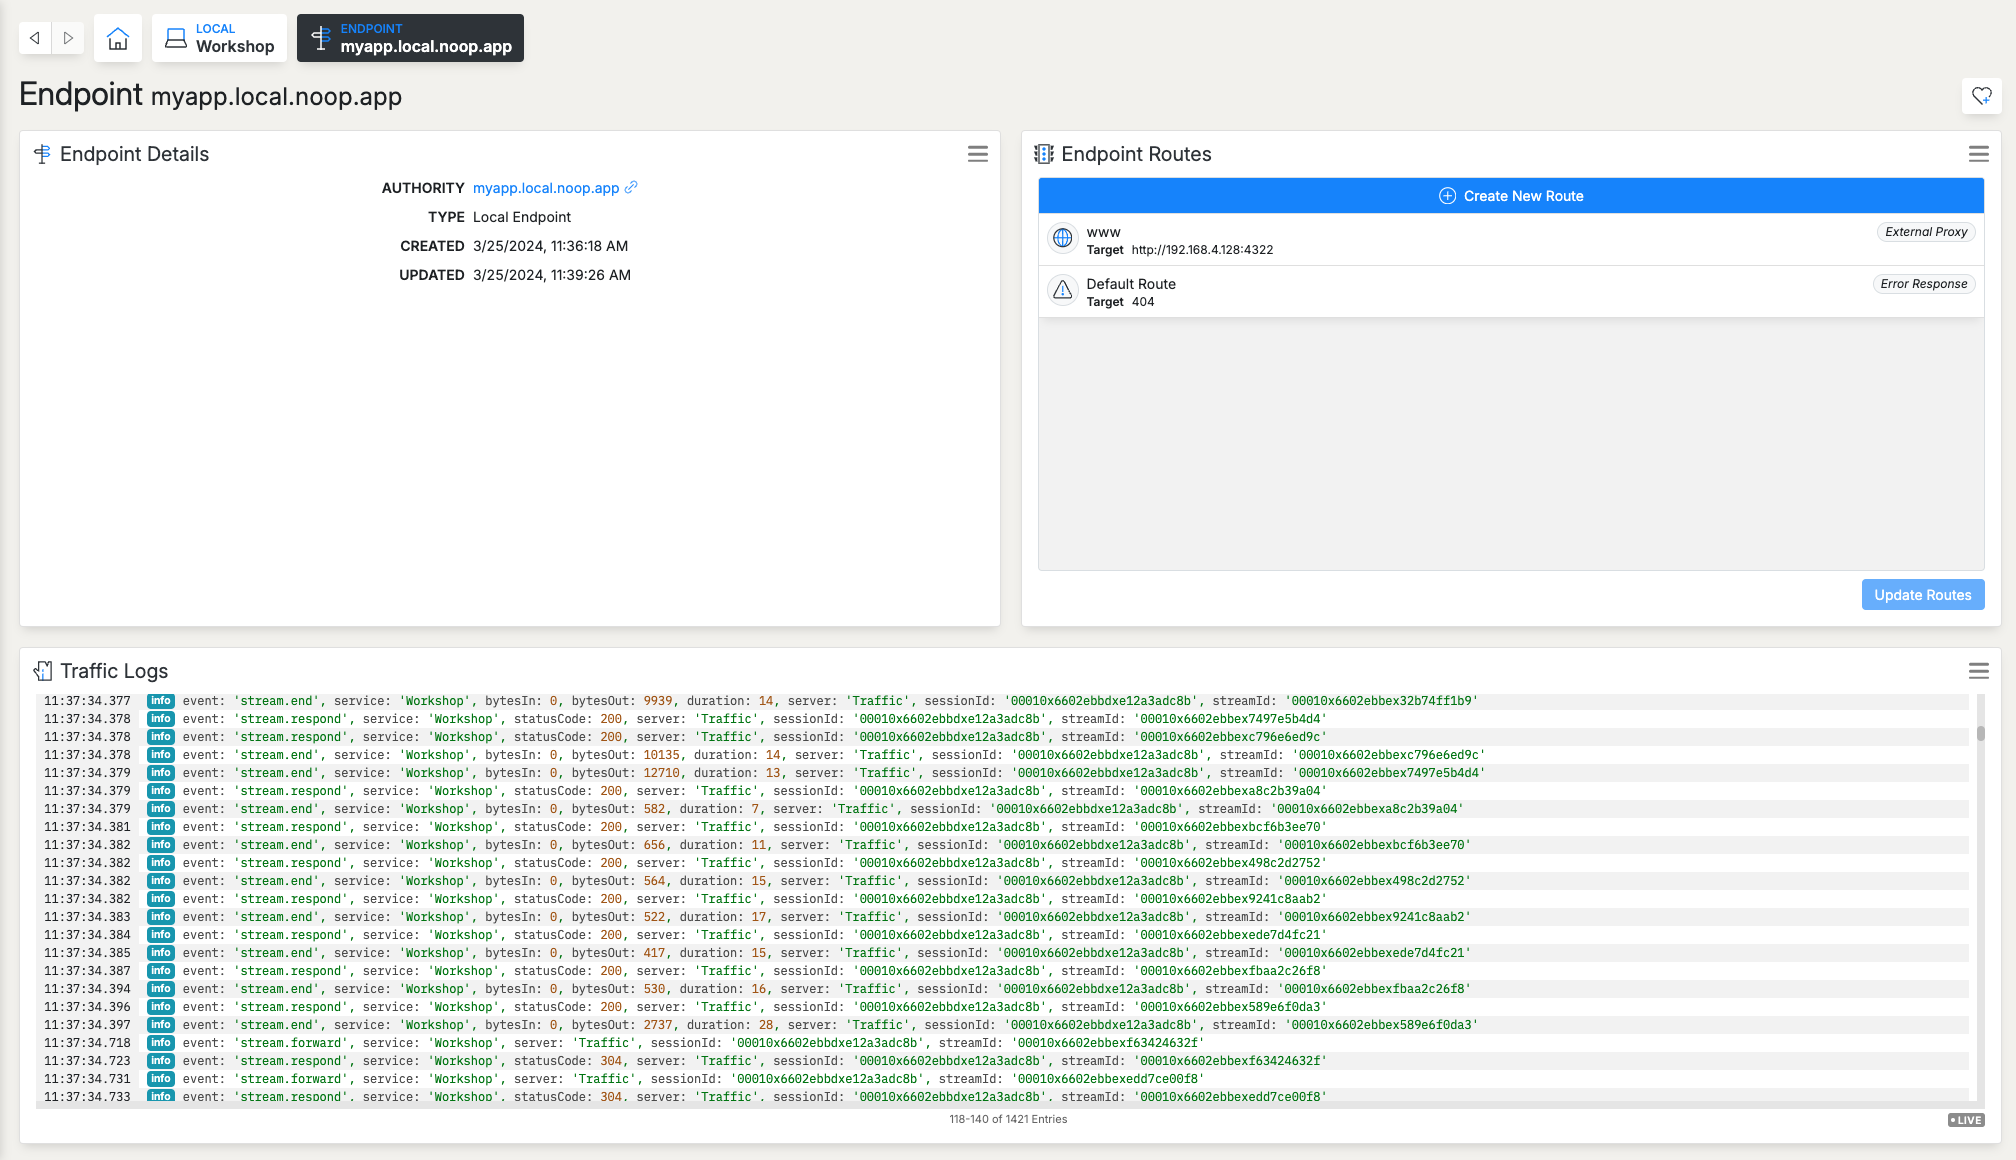
Introduce Dev/Prod Parity with HTTPS on localhost without changing your existing development setup or sending local traffic over the Internet.
One of the most common divergences between local development and production deployment is the lack of HTTPS on localhost. It’s not surprising that the problem exists, solutions and workarounds are usually tedious and still divergent.
Noop Workshop provides HTTPS Endpoints with customizable subdomains (i.e. myapp.local.noop.app). Certificates are managed automatically and no Traffic leaves the development machine. Get started.
Workshop adds a routing layer on top of your local development environment, in most cases it doesn’t require changes to the existing setup. Of course, it’s possible to run your entire local dev environment in Workshop (that will be the topic of another post).
HTTPS for local development is becoming increasingly necessary. As apps become more complicated and require stricter security controls the lack of HTTPS locally, creates a bigger divide between the deployed environment and local development. On top of that, some development scenarios, certain OAuth2 providers for example, require HTTPS, period. Without HTTPS there’s no hope for developing those features. Of course, solutions and workarounds exist. But we think they can be easier to use.
Workshop manages endpoint traffic similar to the routing systems of popular CDNs. Once an endpoint is created, routing rules are configured to get the traffic to the right place, in this case, your local development environment. Workshop hosts and manages certificates at the routing layer leaving the application process to run unchanged.
Get Started
Here’s how to set up HTTPS Endpoints locally with Noop:
1. Install Noop Desktop
Not your OS? Download an alternative:
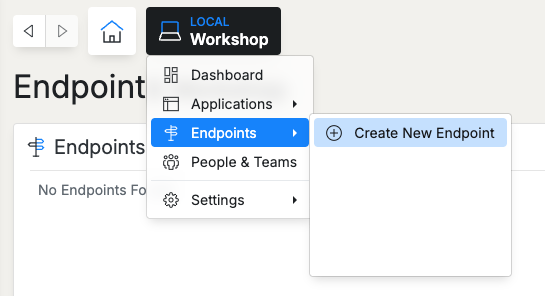
See all releases2. Create an Endpoint
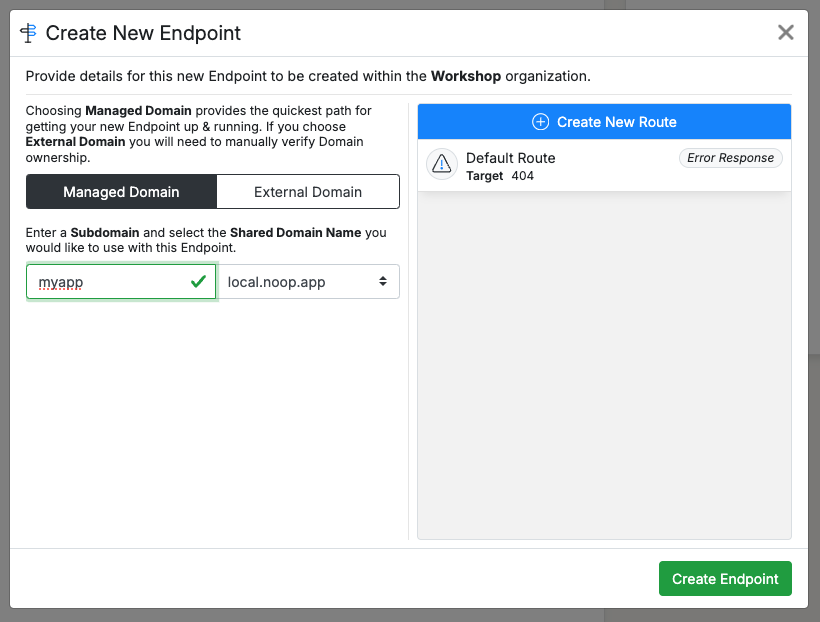
The first thing that needs to be done is to create an Endpoint. The endpoint is a host name that resolves and routes Traffic.
Give the endpoint a name.
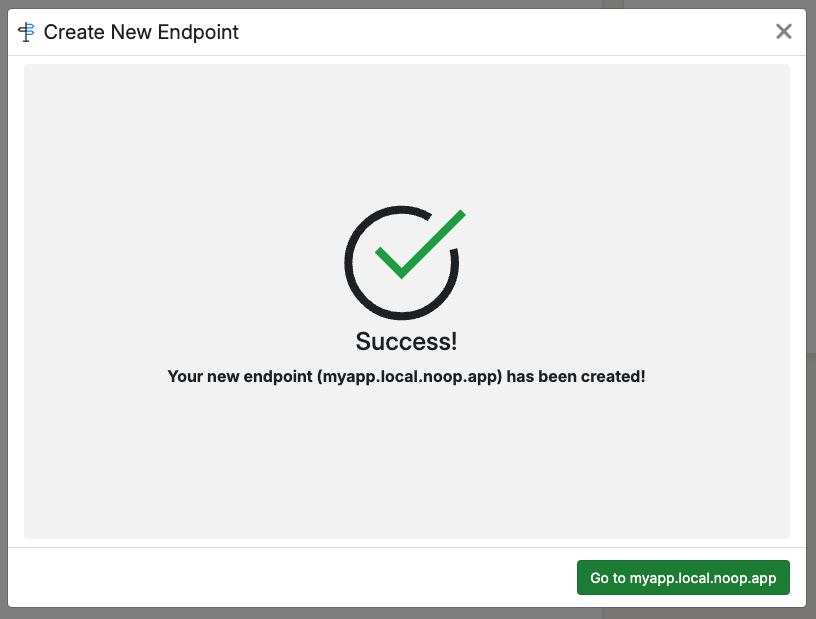
And done.
3. Point the Endoint at a Local Webserver
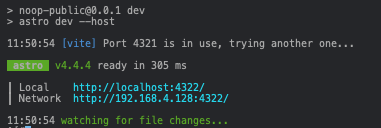
Next we’ll configure the Route that will forward traffic from our Endpoint to the local webserver. Important note, some frameworks require a flag to expose their port on the host network. Using the popular Javascript framework vite for example requires a --host flag.
Once we know the host IP address we can configure the proxy route. Start by creating a route:

In this particular example we will send all Traffic to the local webserver (we could also limit the Traffic to specific paths, HTTP methods and other more fine grained criteria).
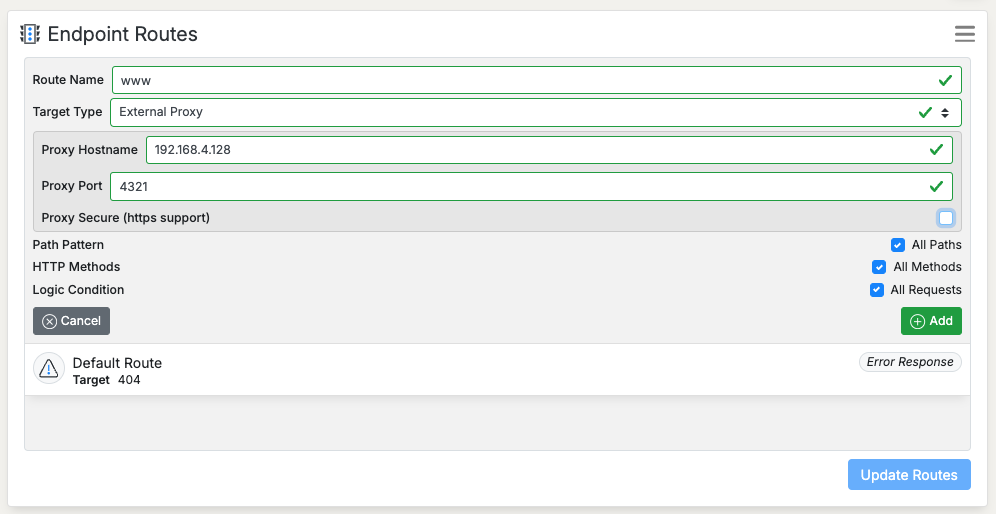
Once the address, port, security (in this case the target will be HTTP) and Route matching criteria are set, update the Endpoint routes:
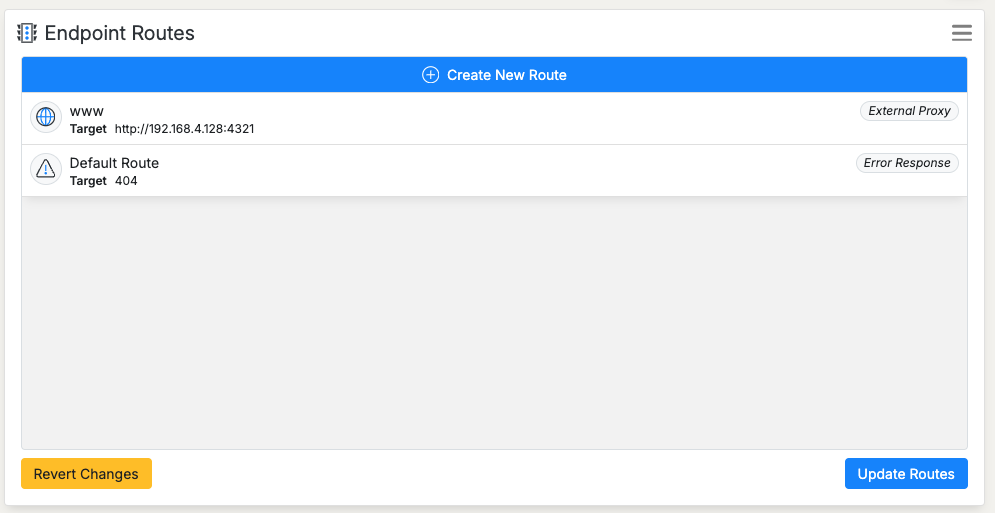
Once that’s complete, the chosen endpoint will forward traffic to our webserver running on the host machine.
How it Works
- Once Workshop is installed it downloads an SSL certificate for
*.local.noop.app. - There is an DNS A record for
*.local.noop.appthat points to127.0.0.1 - Workshop starts a Traffic routing process running on the local machine on port 443
- The routing process uses the certificate to sign requests and forward them to your local web server process
- All certificate renewals are handled by Workshop, it’s not something you ever need to think about
Other Notes
The articles linked above cover some of the alternatives. Also worth mentioning: certain frameworks attempt to solve the problem automatically, and some development environments can be modified to create an HTTPS layer, similar to a load balancer or CDN in a cloud environment (a Traefik container in a Docker Compose app, for example).