core concepts
Deployments
How to create and manage Deployments.
Simply put, Deployments publish code and configuration changes to Noop Environments.
Deployments can be created manually from the Environment Dashboard in the Console or triggered automatically using a Pipeline.
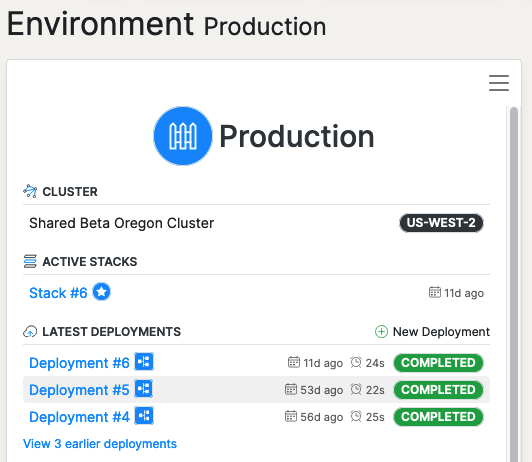
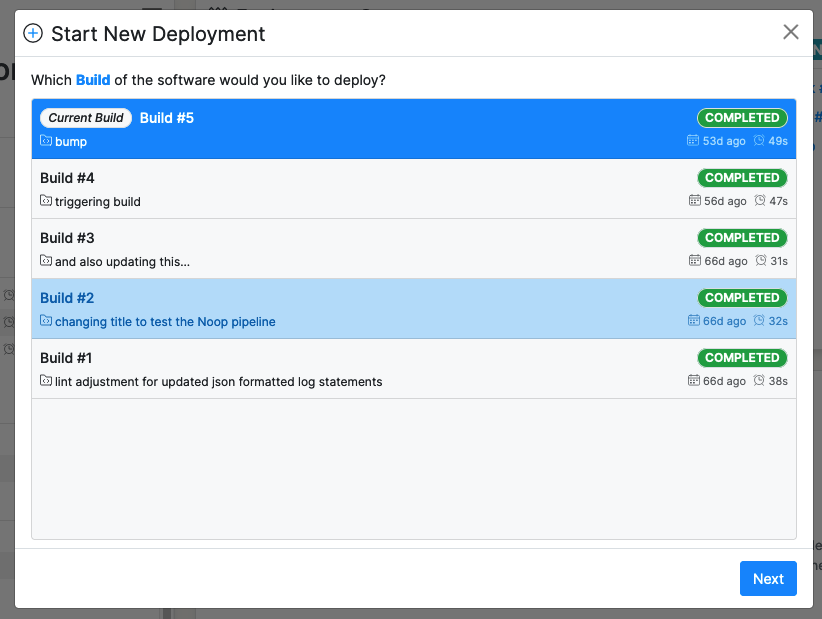
To create a Deployment manually, navigate to the appropriate Environment dashboard. In the left-hand panel, select “New Deployment” at the top of the recent Deployments list. Select the appropriate Build and follow the Deployment instructions.
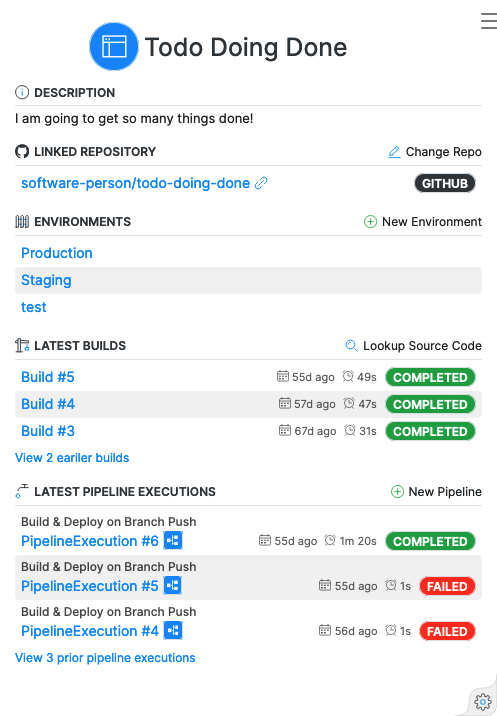
Deployments can also be triggered automatically via a Pipeline. A Pipeline creates a Deployment in response to GitHub repository events. To create a Pipeline, navigate to an Application dashboard and select “New Pipeline” at the top of the Pipeline executions list in the left-hand page panel. Follow the instructions in the Pipeline creation form.
All Deployments maintain 100% uptime using a blue-green deployment process. Here is how that works:
- When a Deployment starts, a Green Stack is created in the Environment with traffic disabled.
- All BeforeServices Tasks are executed in the newly created Green Stack.
- Then, all Services in the Green Stack are started. Noop waits for them to complete by observing their health checks.
- Once all Services are successfully started, the BeforeTraffic Tasks are executed in the Green Stack.
- After the BeforeTraffic Tasks are complete, traffic begins forwarding to the Green Stack.
- With traffic enabled, the AfterTraffic Tasks are executed in the Green Stack.
- Finally, once all the AfterTraffic tasks have completed, the Blue Stack (the previous deployment) is destroyed.
Rollbacks
In Noop, every Deployment is associated with a Build. Rolling back to an earlier release involves creating a new Deployment, following the instructions above, and referencing a prior Build.