core concepts
Filtering Logs
How to review and filter Logs.
Overview
See the Logs docs for documentation on the different types of Logs.
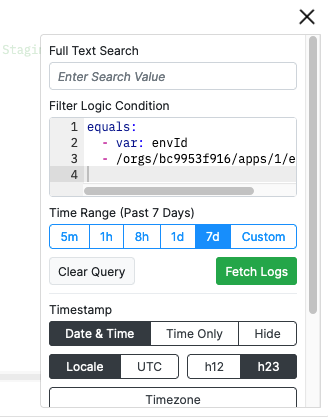
Log filtering is accessible under the menu menu icon in the top right corner of every Log panel. In the Log filter menu, there are options to search (using arbitrary text), select a date range, and apply filter Logic.

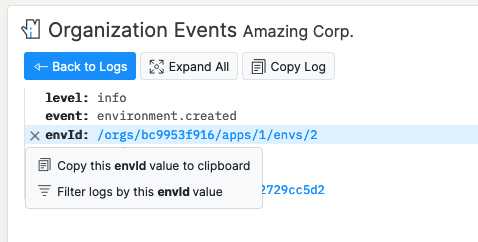
There’s also a way to add filter Logic without manually writing the Logic condition code. Select (by clicking) a Log entry with a property you want to apply to the filter. Hover over the property and click the menu icon to the left. Select “Filter logs by [PROPERTY NAME] value.” The Logs will update to only include entries matching that value.
Opening the Log filter menu again will show the Logic operator that was applied to filter the Logs.
Filtering With Logic
Logic expressions used in the Log filter evaluate whether each Log entry matches the condition set in Logic. In other words, a Log entry will be fetched if the Logic expression evaluates as truthy for that entry.
See the Logs documentation for more information on how to apply Logic conditions.
The following example matches all Log entries where the level variable equals “error”:
equals:
  - var: level
  - error
level in the example above is a JSON property of the output Log entry. Any JSON property can be used to filter the Logs, including properties set by the application itself.
Outputting structured JSON from application logs automatically produces Logs that are queryable from the Noop Console.
NOTE: Not all Logic operators are available for Log filtering. See the Logic reference for a complete list.
The context variable of Logs changes depending on the Log stream and also by custom properties set by application developers.